 Sign In
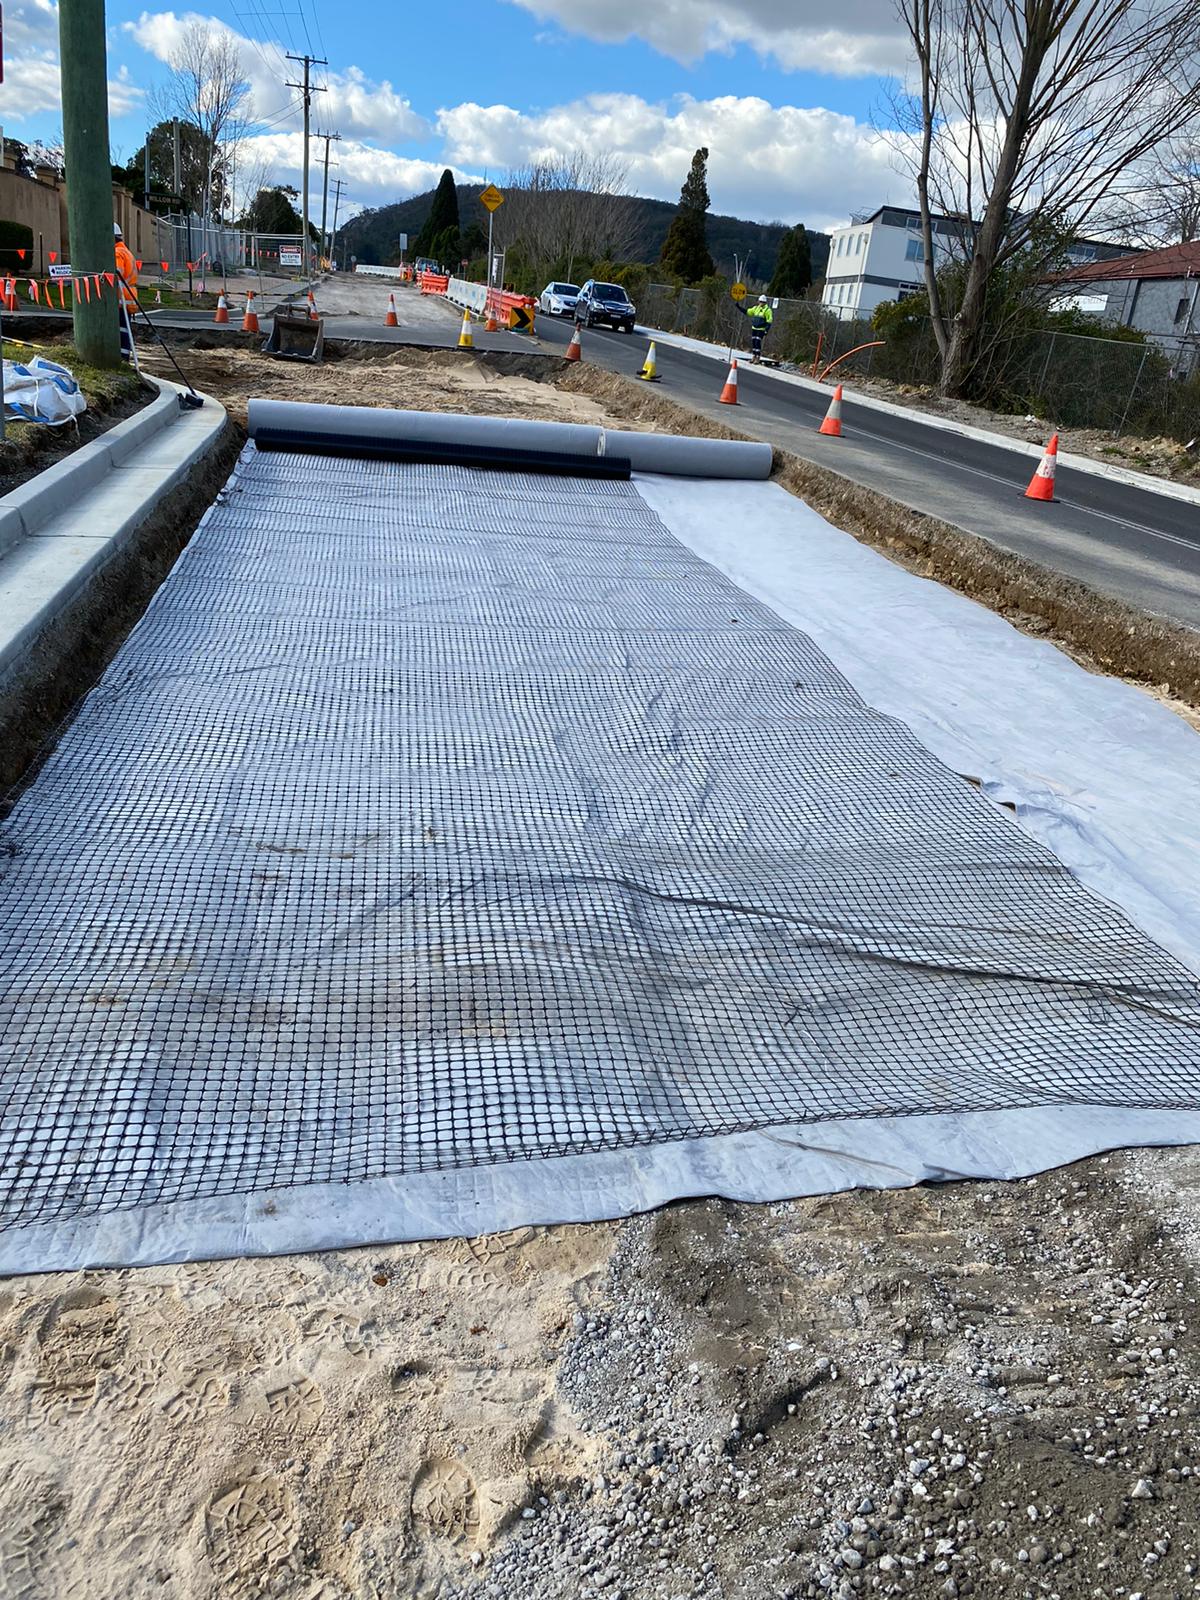
Geogrid installation for reinforcing pavements

Geogrids provide a range of benefits that help deliver long-term reinforcement to concrete pavements. From distributing loads to reducing the concentration of stress over the soil, geogrids offer a decrease in creep and an overall increase in bearing capacity, creating stronger, longer-lasting pavements.
How does geogrid provide reinforcement?
Because geogrids are designed with structural junctions, rigid ribs and thick walls, they help lock in aggregate and provide strength and shear resistance.
When grids are properly installed and the surface is prepared correctly with the right type of fill, the aggregate is restrained by the ribs in the geogrid. This helps control settlement, increase load distribution and provide lateral restraint.
This interaction between the base course, the grid and the aggregate is key to achieving the desired reinforcement properties - so installing geogrid correctly is a must.
How to install geogrid
1. Prepare the subgrade
Pavement geogrids can usually be installed directly on top of grass, provided there are no large or woody plants or bushes on the site. It’s a good idea to remove any large rocks or similar obstacles and ensure any depressions or wheel ruts are filled or levelled off to provide a smooth surface. On very soft ground, it is advisable to cut vegetation flush with the ground to leave the root zone and soil crust undisturbed.
2. Install the geogrid
To install the geogrid, simply roll it out and allow it to follow the natural contours of the ground. Generally, the direction of laying and vertical spacing of multiple layers will be specified in the project’s design documents.
Pavement geogrids can typically be placed on the subgrade, either parallel to a road centerline or at right angles. In most cases, only one layer of geogrid is required, but if multiple layers are required and spacing is not specified they should be evenly spaced through the thickness of the fill with spacing not exceeding 500mm.
Once in place, the geogrid should be tensioned by hand to remove any slack and to ensure that any mechanical joints are taught. Small piles of fill material can be placed on top of the grid to hold it in position until the main fill placement begins. Note that no construction traffic should travel directly on the geogrid before fill placement.
3. Notes on placement, continuity and size
Over very soft ground, the geotextile must be installed facing down. To ensure product continuity, simply overlap the adjacent layers. The edges and ends of each roll should have a minimum overlap of 300mm, but over soft or uneven soils these overlaps may need to be increased up to as much as 900mm.
Typically, as the ground strength reduces below CBR 4, the overlap should increase, and overlaps should be shingled in the direction of fill placement. Care should be taken to ensure that these overlaps don’t move out of place whilst the fill is being placed. Cable ties or steel pins at 1m spacing can help to hold overlaps in place.
Synthetic geogrids can also be cut to length or width using either snips or a disc cutter.
4. Place the cover fill
Fill material should be placed at either the starting edge of the geogrid before being spread to the required depth using a tracked machine. A minimum fill layer thickness of 150mm is recommended before any trafficking or compaction. During spreading, the bulldozer blade should be angled back to lift fill rather than push it.
5. Compact it the right way
A selection of fill types can be used with pavement geogrids. Ideally, the use of a graded aggregate is recommended. Compaction of the sub-base material should follow the appropriate clause of the project specification.
Call Jaybro for advice on geogrid installation
For further advice on the best methods to install geogrid for pavement reinforcement and a wide range of other applications, get in touch with the geosynthetics team at Jaybro.
Information is provided as a guide only. Every project is unique, so always consult Jaybro or a certified engineer for site-specific installation instructions. It is the responsibility of the specifier and purchaser to ensure product specifications used for design and procurement purposes are current and consistent with the products used.

